SAP Lab Setup
SAP GUI Installation
If you do not already have a copy of SAP GUI, you’ll need to install it on your local workstation. The email you received after registering for this PoV Playbook contains a link to download the ‘lab_artifacts.zip’ file. Once you download the file, use the password for the ‘lab_artifacts.zip’ file provided in your email to unzip it on your local workstation.
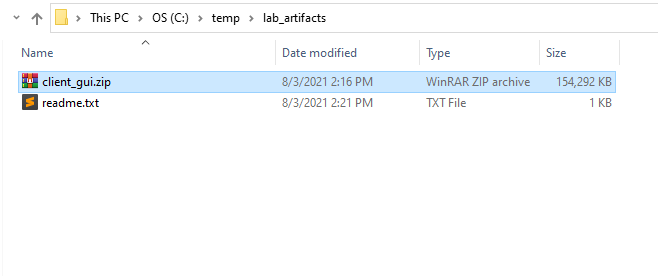
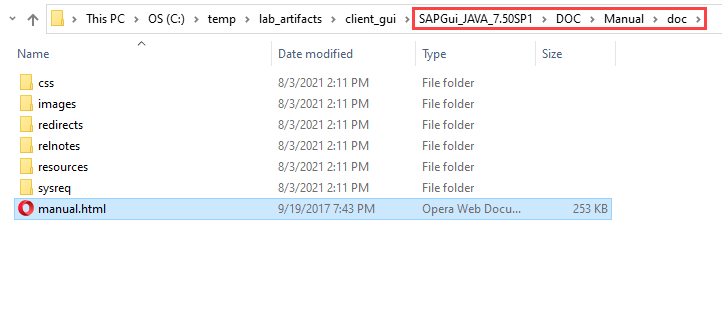
Next, use the password for the ‘client_gui.zip’ file provided in your email to unzip it on your local workstation. Now navigate to the ‘manual.html’ file and open the file in your browser to follow the installation instructions for the Java based SAP GUI.
Connect to your SAP Instance
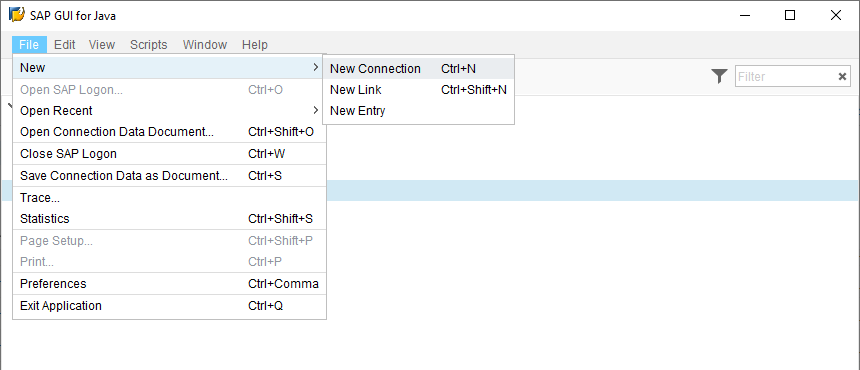
Once you have installed the SAP GUI software, start SAP GUI for Java. Using the menu at the top of the screen, select File > New > New Connection.
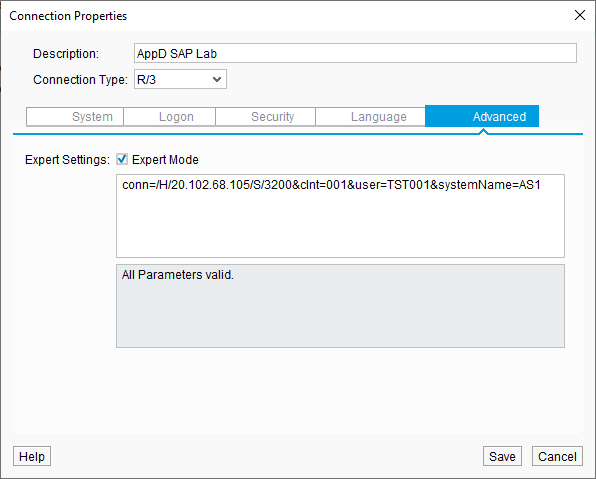
Now type in the description you want for the connection, then:
- Click on the ‘Advanced’ tab
- Check the ‘Expert Mode’ checkbox
Enter the connection string as shown below but substitute <your-sap-lab-ip-address> with the IP Address for your SAP lab instance that was provided to you in the email you received.
conn=/H/<your-sap-lab-ip-address>/S/3200&clnt=001&user=TST001&systemName=AS1Then click the ‘Save’ button
Next, right-click on your saved connection and select ‘Connect’ from the drop-down menu.

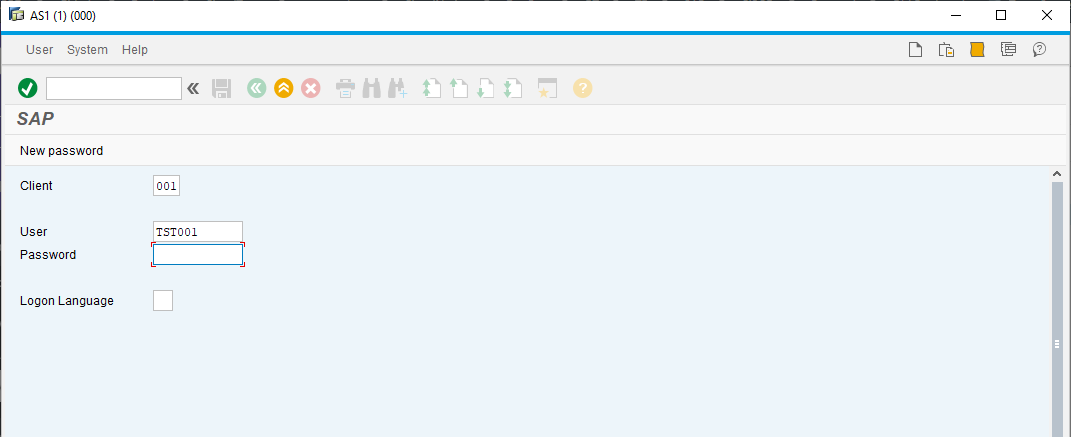
The login screen should come up like the image below. Type in the password below and then press the ‘Enter’ key on your keyboard.
- Control123#
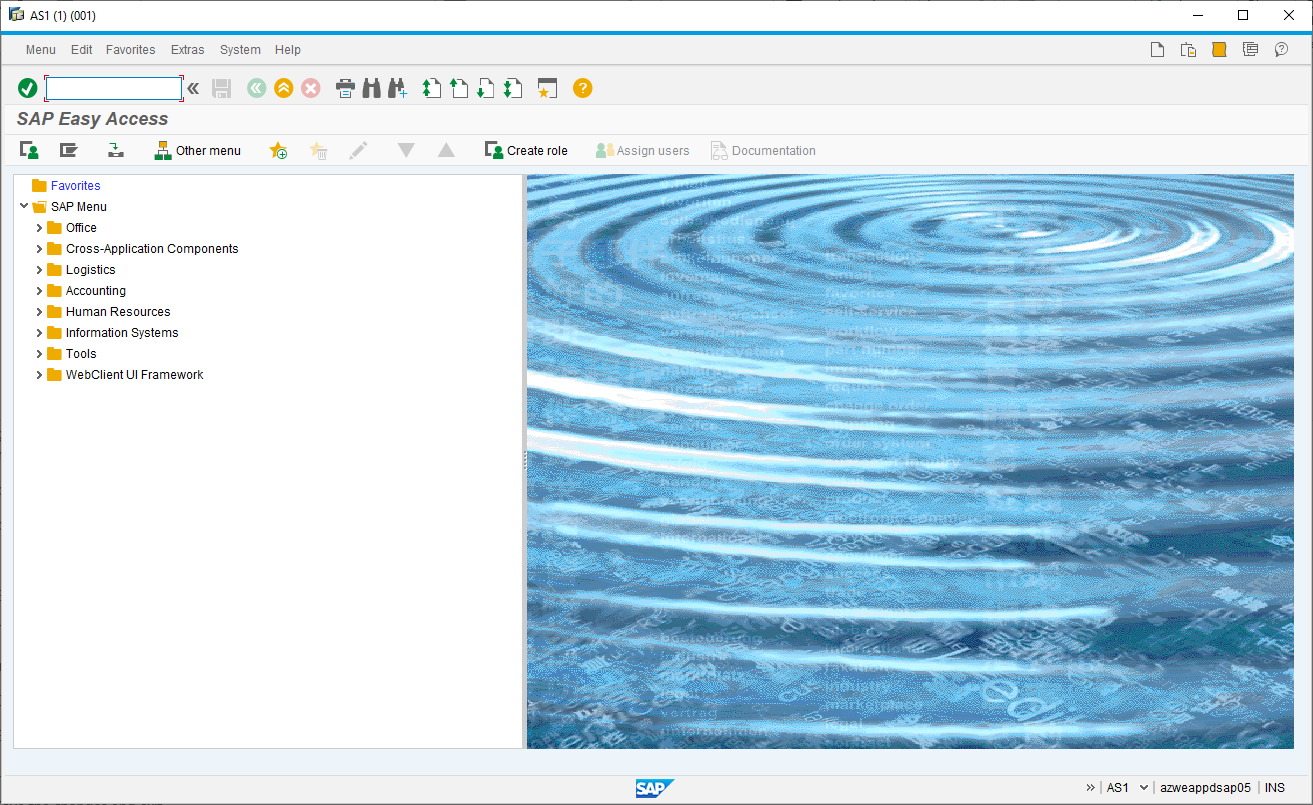
You should now be logged into the SAP GUI like the image below.
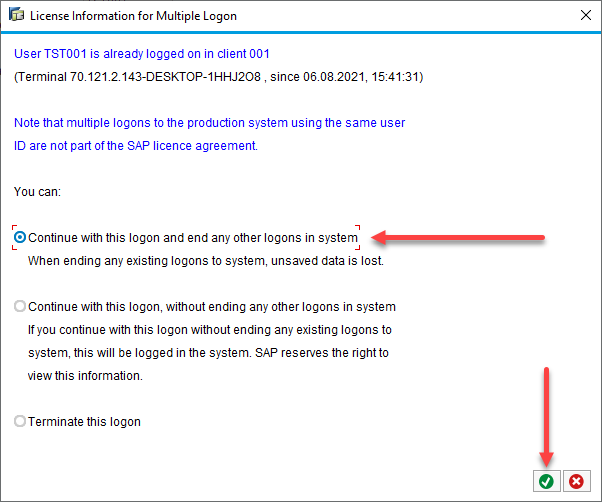
Sometimes the SAP GUI will timeout and you will need to login again. When this happens and you login again, sometimes you may see the screen below appear. If this happens then simply choose the first option and click on the button with the green circle with the check mark in it to close the screen.
Navigating SAP GUI
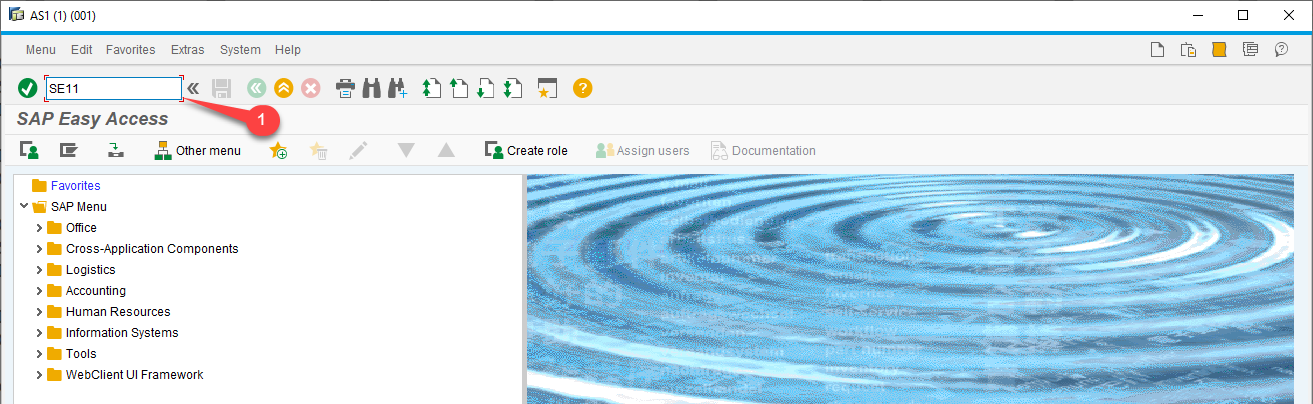
If your not familiar with SAP GUI, here are a few tips on navigating. SAP uses T-Codes or Transaction Codes to navigate to different screens within the UI.
To get to a specific screen in SAP, you enter the T-Code in the text box in the upper left-hand corner of the UI and then press the ‘Enter’ key on your keyboard.
If at any time you want to get back to the main screen, just use the T-Code /n
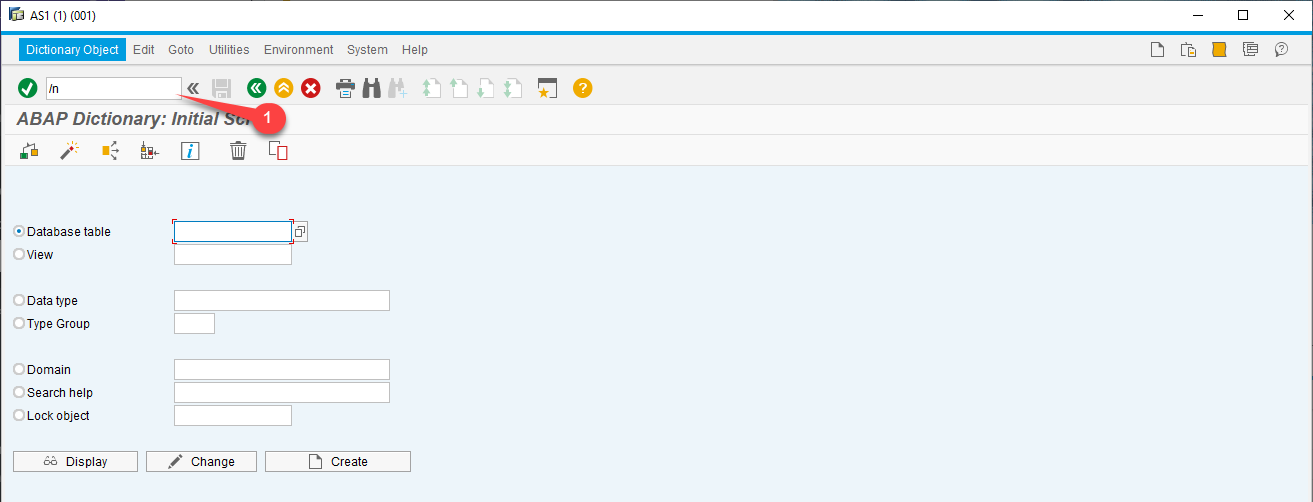
If you want to go directly to any other screen with a new T-Code without going back to the main screen first, you can simply put the /n in front of the T-Code you want to use.
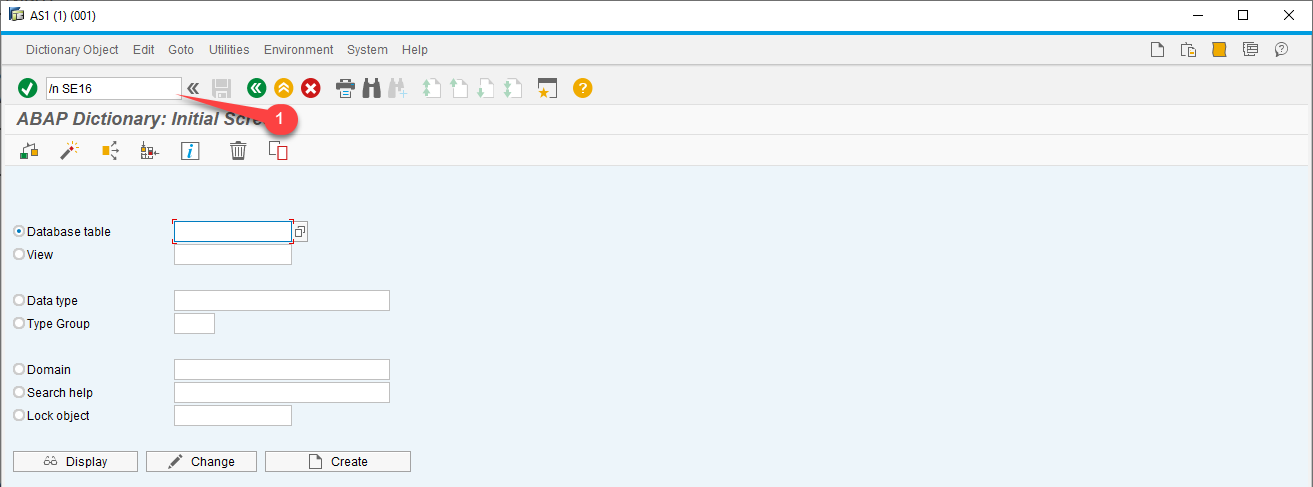
So if you’re already on the screen for T-Code SE11 and you want to go to T-Code SE16 you would type in /n SE16
Enable HTTP in SAP
Next you’ll need to enable HTTP in your SAP instance to access some of the SAP web pages in the lab exercises you’ll be working through.
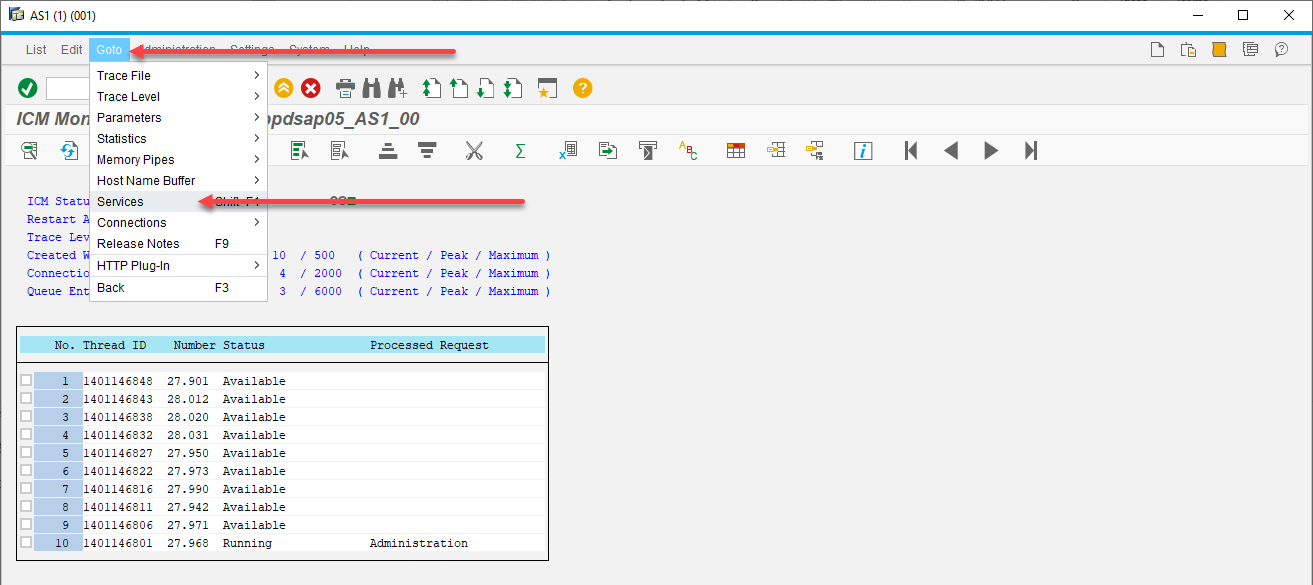
In your SAP GUI, enter the T-Code /nsmicm then press the ‘Enter’ key on your keyboard.
Once you’re on the screen seen below, use the menu at the top of the screen to select Goto > Services
Next on this screen seen below, first check the ‘HTTP’ checkbox, then use the menu at the top of the screen to select Service > Change
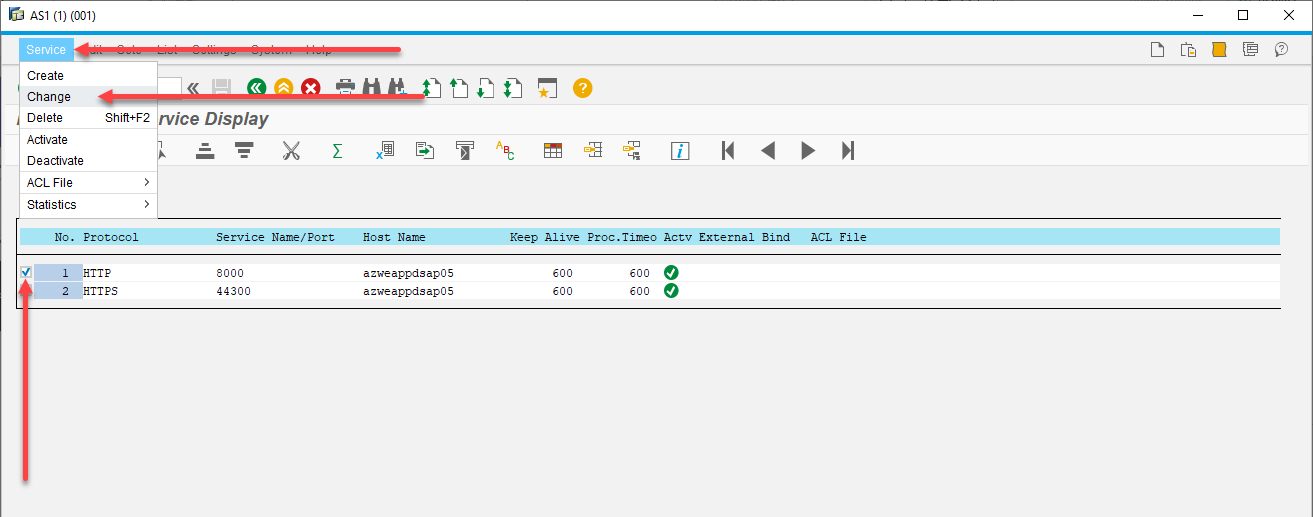
The ‘Change Existing Service’ screen will come up
- On this screen, make sure the ‘Service Port’ is set to 8000
- Then click on the button with the green circle with the check mark in it

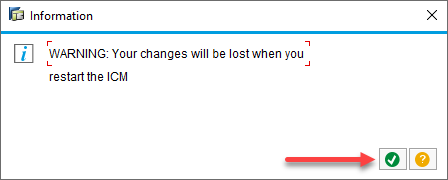
An information screen will appear next, warning that your changes will be lost when you restart the ICM
- Just click on the button with the green circle with the check mark in it to close the screen
Now you can go back to the main screen using the T-Code /n
Verify HTTP Access
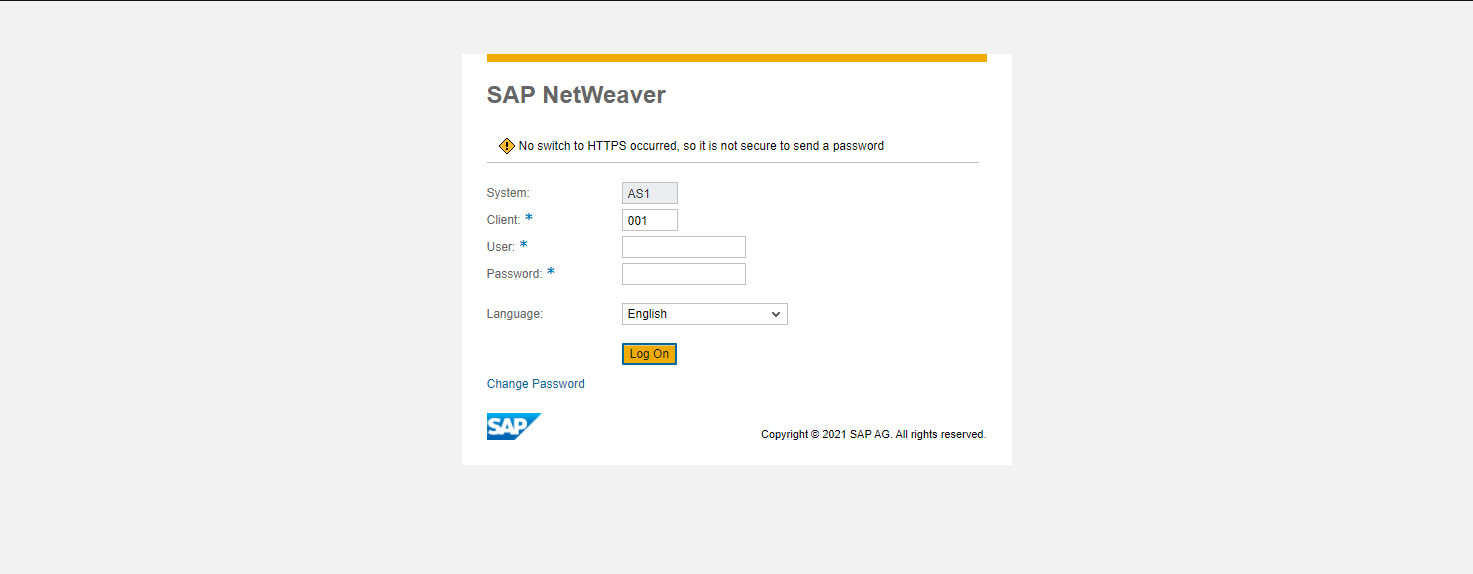
Open the URL in your browser shown below but substitute <your-sap-lab-ip-address> with the IP Address for your SAP lab instance that was provided to you in the email you received.
http://<your-sap-lab-ip-address>:8000/sap/bc/gui/sap/its/webgui?sap-client=001You should now see the logon screen for the SAP Web GUI like the image below.
Enter the value below for the ‘User:’
- TST001
Enter the value below for the ‘Password:’
- Control123#
Then click the ‘Log On’ button to logon
Once you have logged into the SAP Web GUI, it should look like the image below.

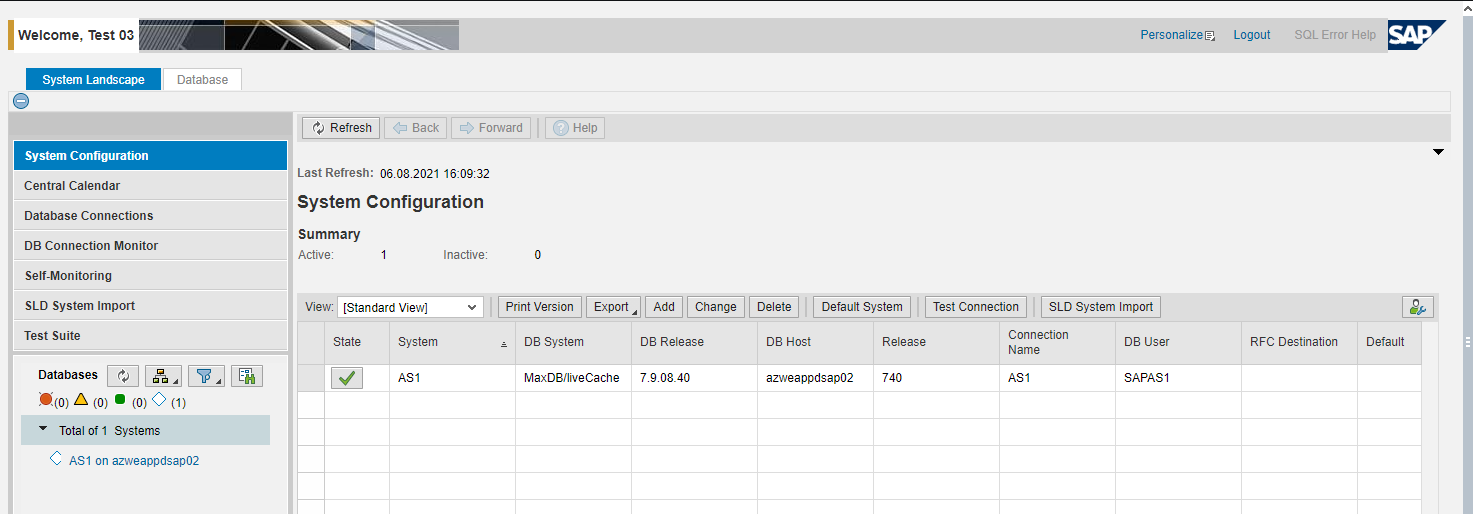
Now you’ll need to verify that you can access the DBA Cockpit Web Page.
Open the URL in your browser shown below but substitute <your-sap-lab-ip-address> with the IP Address for your SAP lab instance that was provided to you in the email you received.
http://<your-sap-lab-ip-address>:8000/sap/bc/webdynpro/sap/dba_cockpit?sap-client=001You should now see the DBA Cockpit web page like the image below.
Next
We’ll dive into the deployment and setup of the AppDynamics SAP Agents.